|
| |
Roundhouse Construction
This page details the construction of the Walther's Modern Roundhouse (933-3260) along with a set of the
Walther's Roundhouse Add-On Stalls (933-3261). These kits are designed to interface to the Walther's 130' turntable (933-2613).
Walther's says:
The Roundhouse was a hallmark of steam-era railroading, and some of these classics are still used today.
No matter the weather, workers could easily inspect and service locos under cover.
Size was based on the number of engines coming and going in any 24-hour period, with the busiest terminals requiring full-circle roundhouses.
Our authentic North American-style model includes three stalls on 10-degree centers to make the most of your available space like the prototype.
|
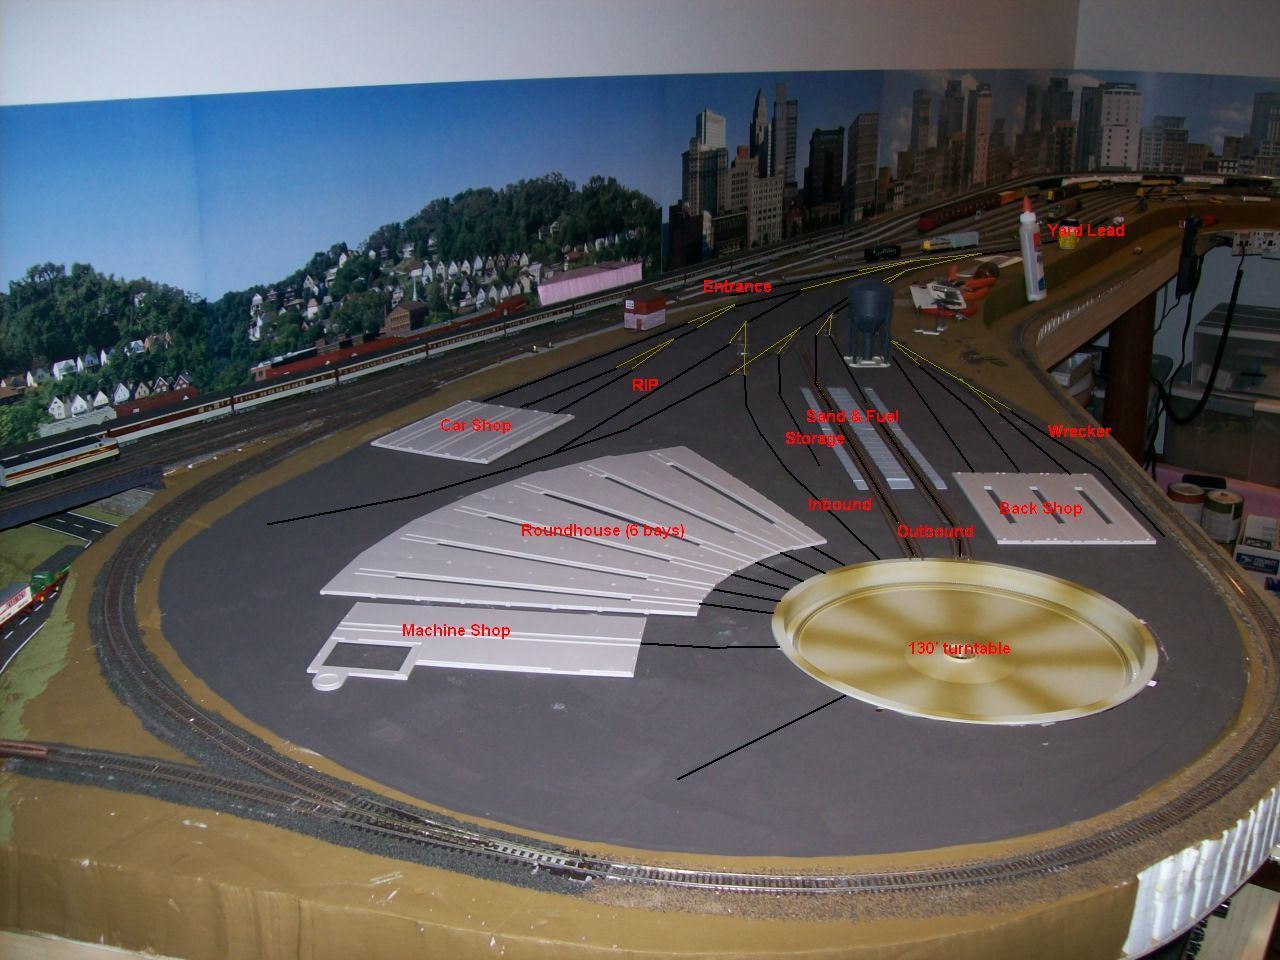
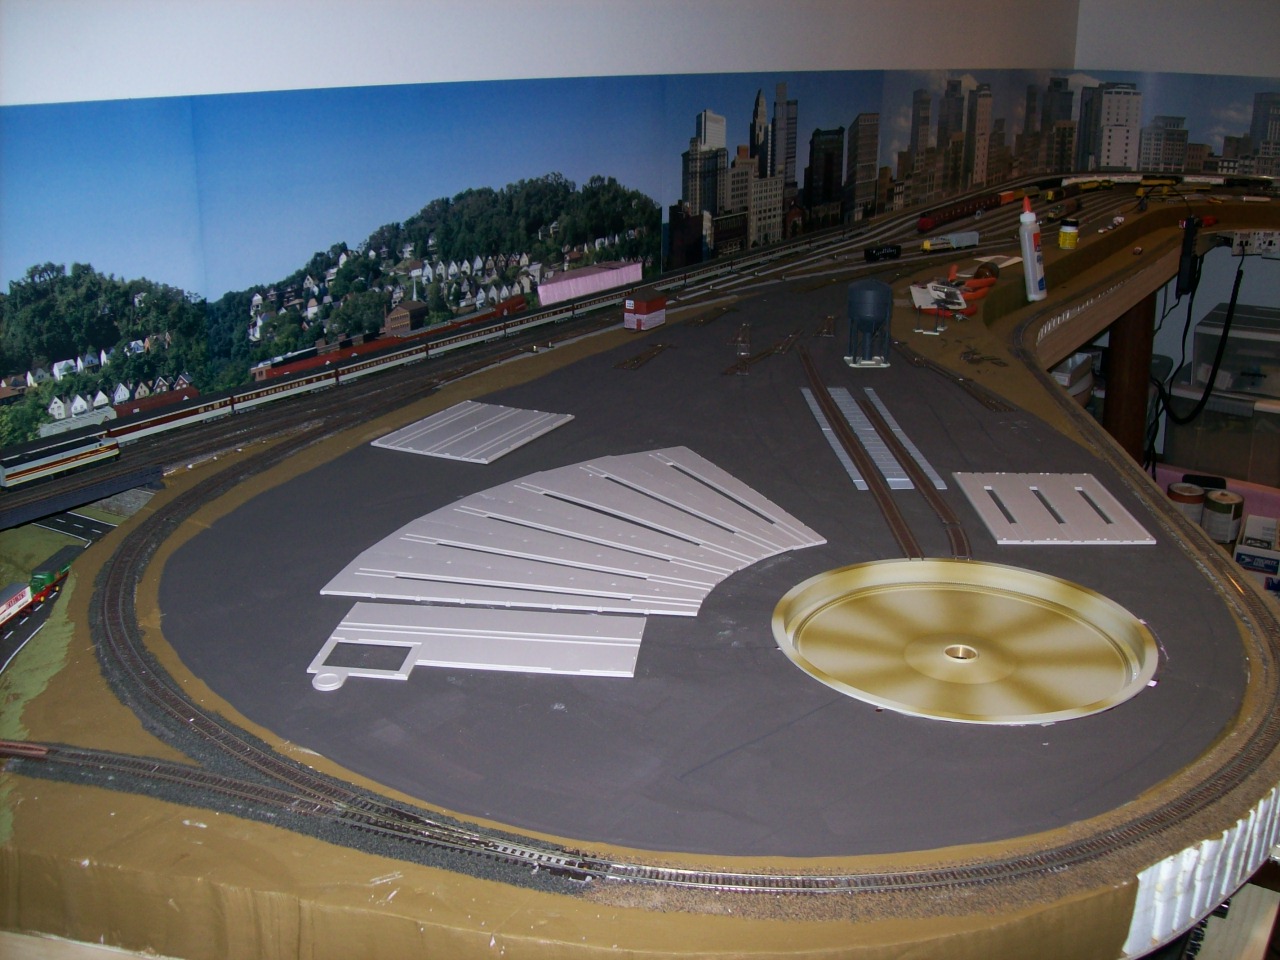
Here you can see the basic footprint for the roundhouse which will be north of the turntable. It will be a six-stall
structure next to the machine shop (whose footprint is towards the camera, that is, west of the roundhouse).
Press the image to see an annotated version of the area.
|
|
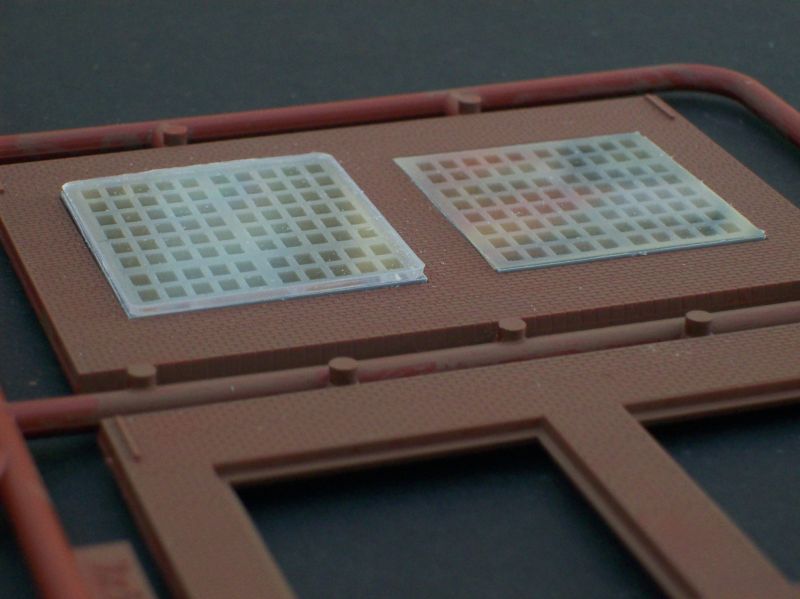
The kit comes with a load of windows, somewhere north of fifty. Each
has a rather thick piece of clear styrene to represent the glass.
This is pretty standard for all Walther's kits. However, since I am
going to have a removable roof on this when it is done, that just
does not cut it. So, I individually cut out an equal number of
pieces of glass from overhead transparencies. These are about 1/8
the thickness of the original glass and are invisible from more than
a few inches away, and only then with an extreme angle view.
The left window has the original glass on it and the right one has the new glass. These are just placed in place and
the fitting is actually better when glued, since the window frame fits flush and the glass is hidden once glued. I
used matt medium to glue each in place.
|
|
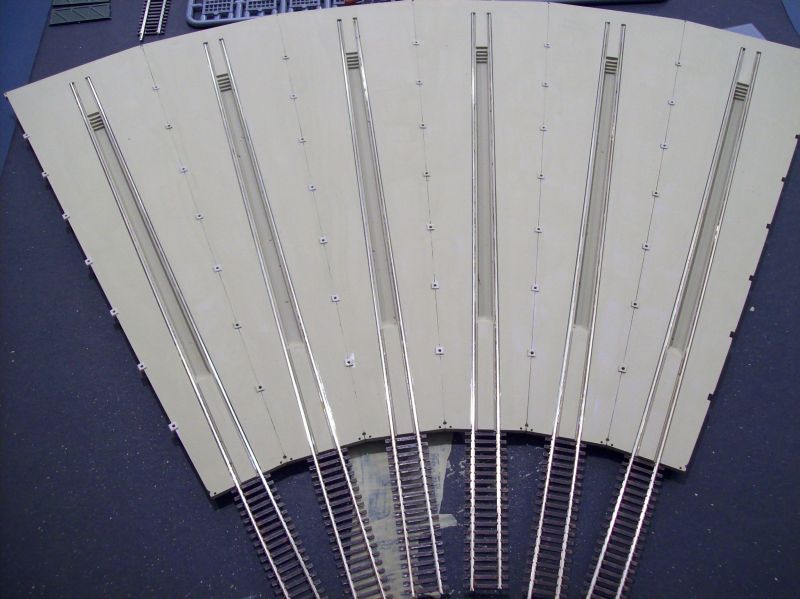
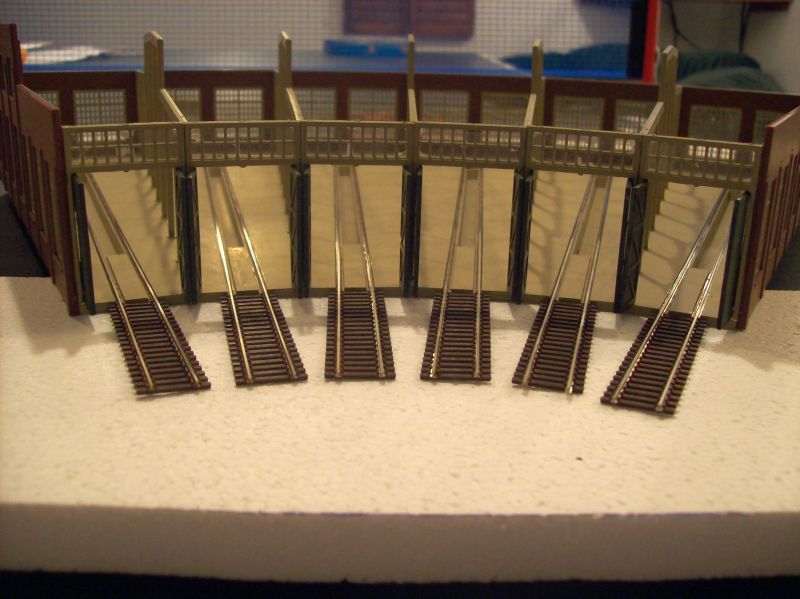
The first step was to glue the stall baseplates together, followed by the pits. I used Poly Scale aged concrete as the paint.
Next the rails were cut (about 3/8" longer than needed), ties removed and they were then secured in place using CA. I
used a rail gauging tool to keep the
rails spaced correctly while drying. The rails were also painted before installation. I chose a rust brown color and
painted only the inside where there were no ties (since the outside will be against the rail trench and not visible). Naturally, where the
rails are outside the roundhouse, both inside and outside of the rails is painted.
|
|
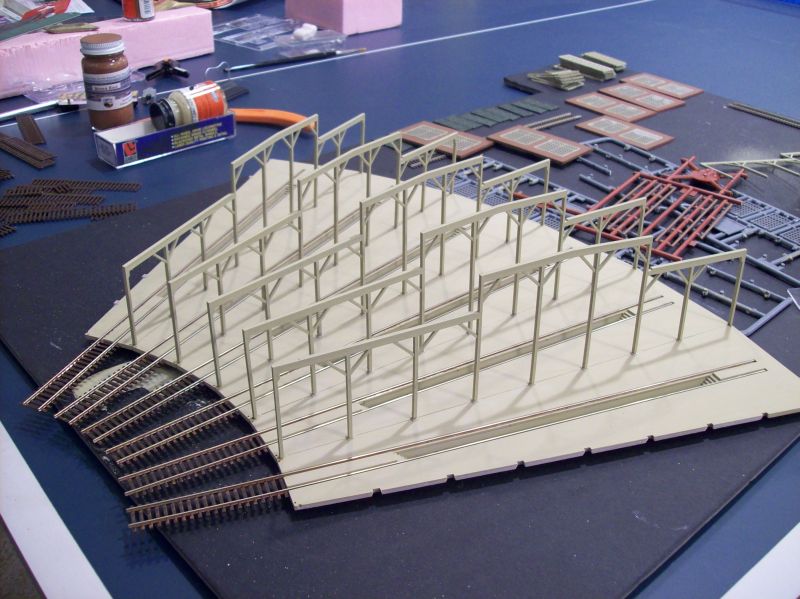
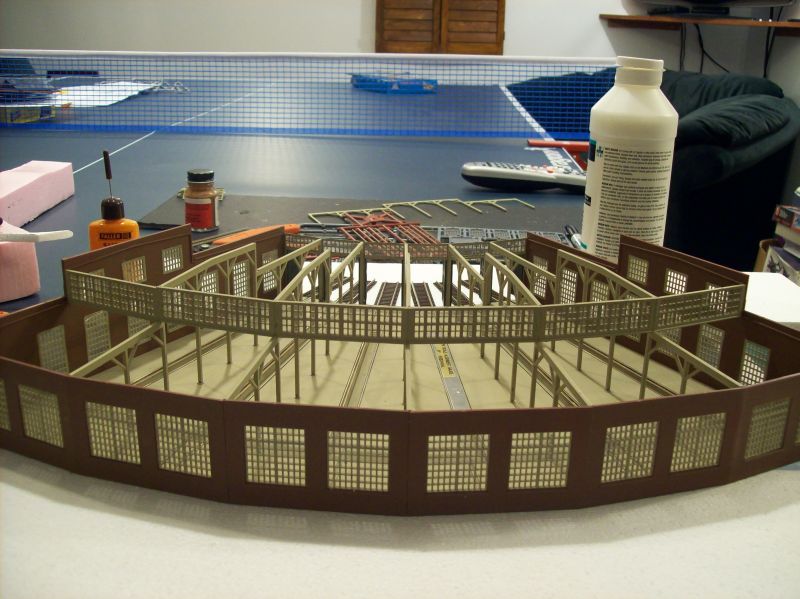
Installation of the internal framing is next. This is painted aged concrete too.
|
|
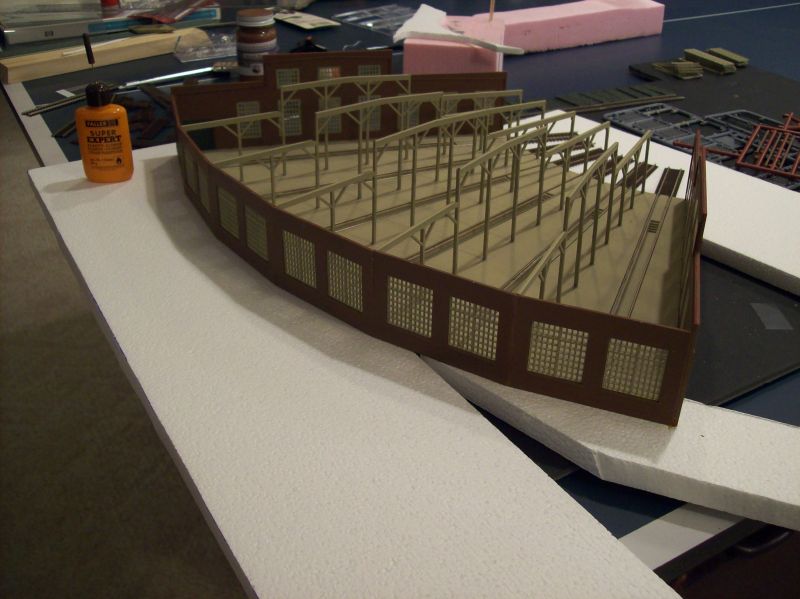
After installing the windows and glass into the walls, the side and rear walls
were then installed. The walls were painted with DR&G Building Brown from Poly Scale. The windows are
aged concrete. The doors are Pullman Green, also from Poly Scale.
Since the instructions call for the pits to be added almost at the end of construction,
whereas I decided to do them first, I have got the base supported by pieces of polystyrene
so that there is a firm base.
|
|
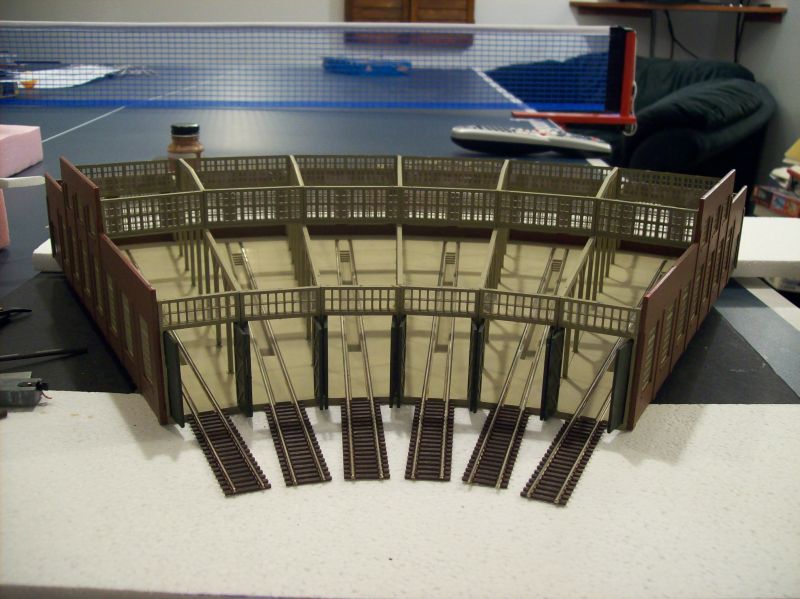
Next up are the front doors. These do operate. Select the image to see them close.
|
|
There are a series of windows across the back in the upper level.
|
|
And similarly a series of windows across the front in the upper level.
|

|
It's beginning to take shape now. Just the roof and roof details to go.
|
|
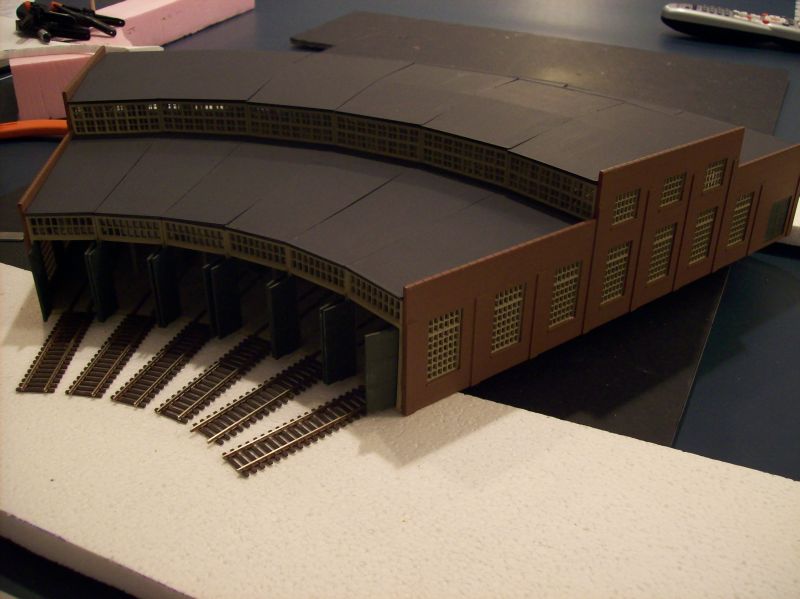
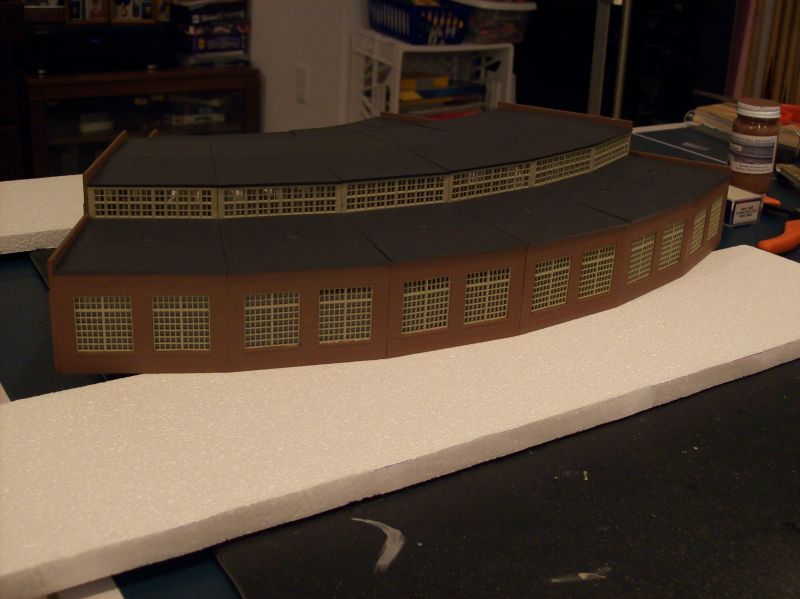
Roof on, front view.
|
|
Roof on, rear view. The roof is painted Poly Scale Tarnished Black. At this point, each of the
eighteen pieces is just placed in place. I will eventually glue them is series of six so that
there are three removable sections: front, middle and rear.
|
|
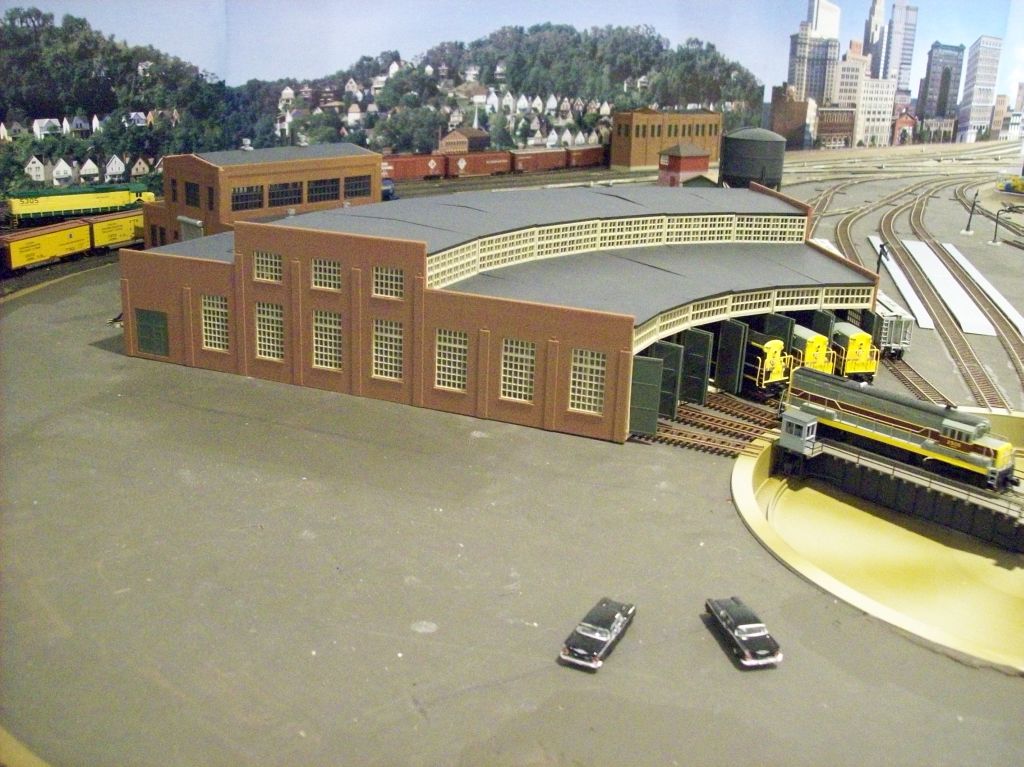
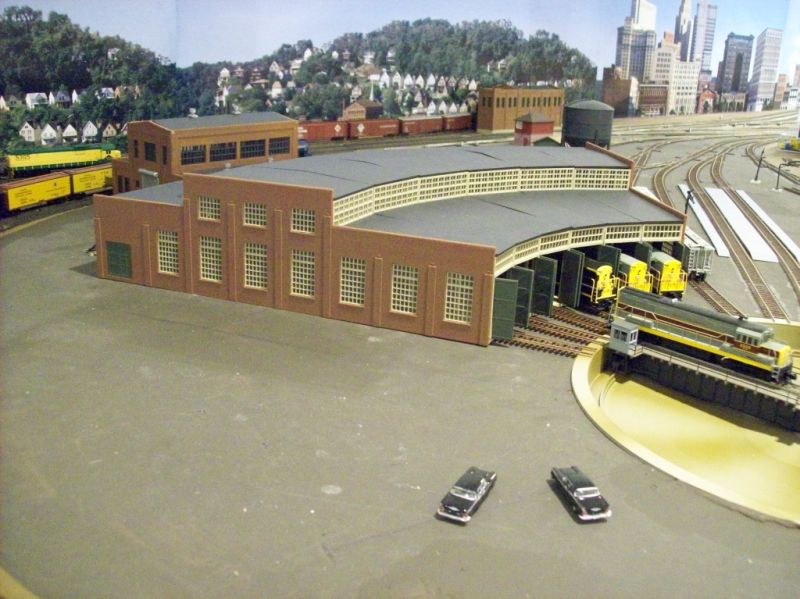
Here is in place with the rails trimmed to length and some locomotives inside. Select the image for a
larger view.
The roof details are still required, power to the rails is needed and ballasting too. Oh, and the whole building
will need to be glued in place. I will use white glue for that so that it can be easily removed.
The Allied Rail Builders kit is finished and in place to the north (left and back in this photo). See the next photo too.
|
|
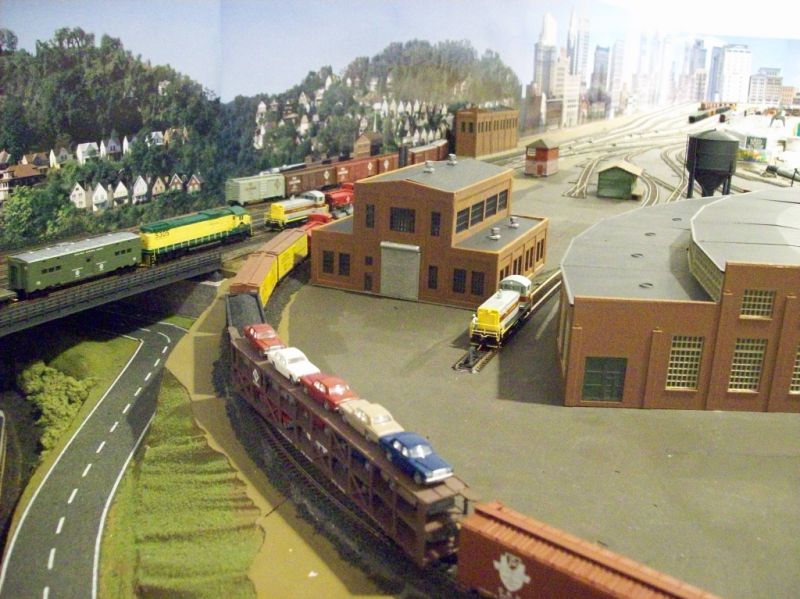
This is the view behind the roundhouse with the heavy work facility. There is a switcher on the RIP
track which leads from the signature diamond which can be seen just above the roundhouse and tothe left of
the water tower. Also in the distance is the Bridge 60 Tower.
Select the image for a larger view.
|
|
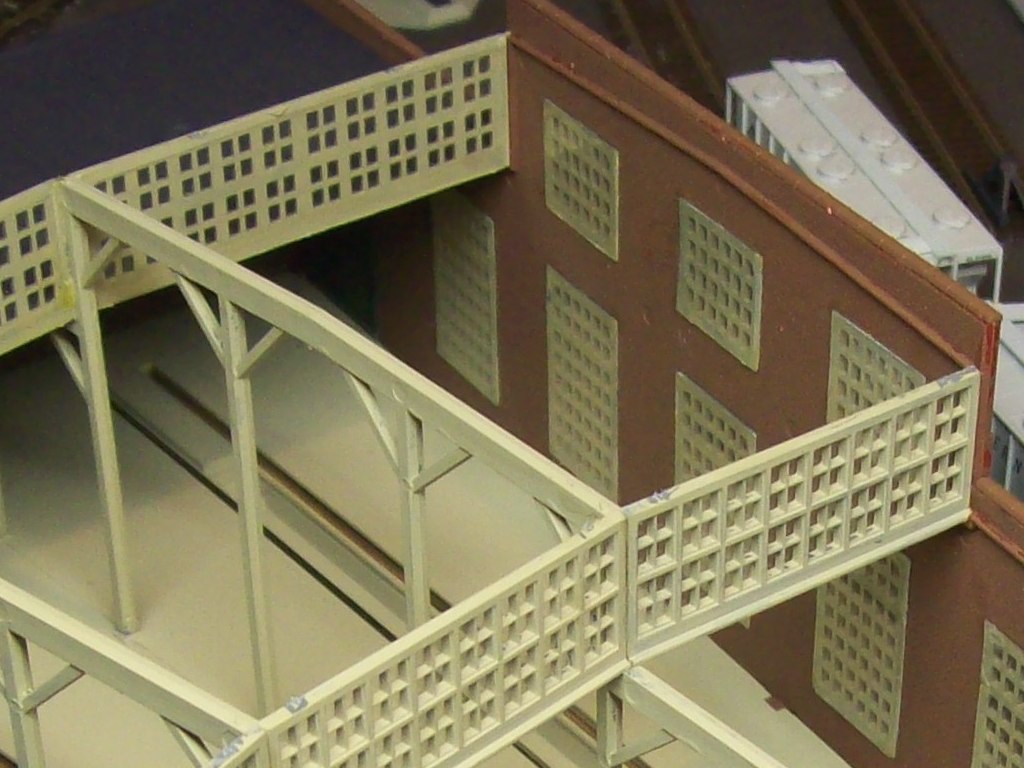
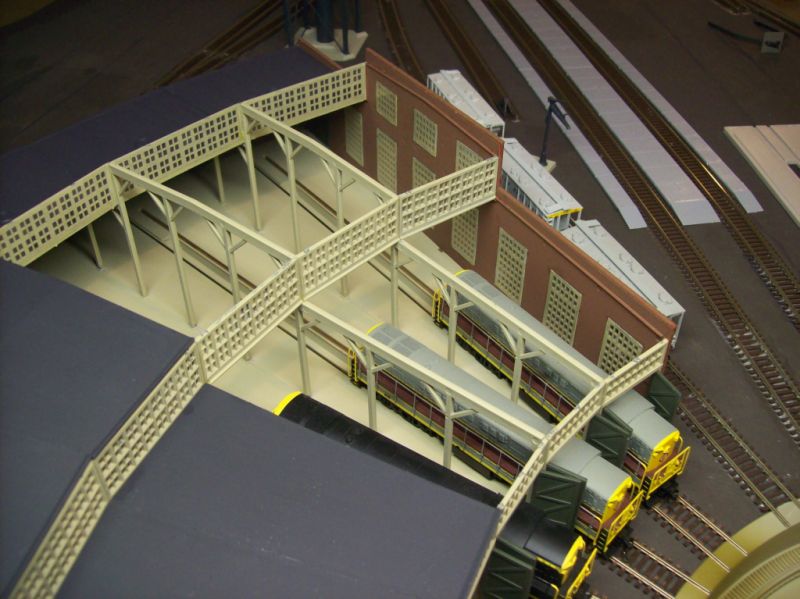
Here's a view of the inside. There is still work to be done, but it's looking good!
Select the image for a closeup view of the windows.
|
|